How to Install Android Studio in Ubuntu 18.04 Bionic Beaver
This tutorial explains how to install Android Studio in Ubuntu 18.04 desktop.
Android Studio is an Integrated Development Environment (IDE) designed for developing apps for Google Android operating system. Android Studio is the official IDE for Android development which is based on Jetbrain’s IntelliJ IDE.
Login to your Ubuntu 18.04 Desktop and install Android Studio with the following steps:
- Install dependencies.
- Download Android Studio for Ubuntu 18.04 Bionic Beaver.
- Unzip the AS zip file.
- Execute studio.sh.
First, Open the Ubuntu terminal, install following 32-bit libraries:
sudo dpkg --add-architecture i386
sudo apt-get update
sudo apt-get install libc6:i386 libncurses5:i386 libstdc++6:i386 lib32z1 libbz2-1.0:i386
Next, Go to the website developer.android.com/studio/ and download the Linux 64 bit package.

After download is finished, unzip the zip file to the /usr/local/ directory:
sudo unzip -d /usr/local/ android-studio-ide-173.4819257-linux.zipThen, cd into the /usr/local/android-studio/bin/ and execute the studio.sh file:
cd /usr/local/android-studio/bin/
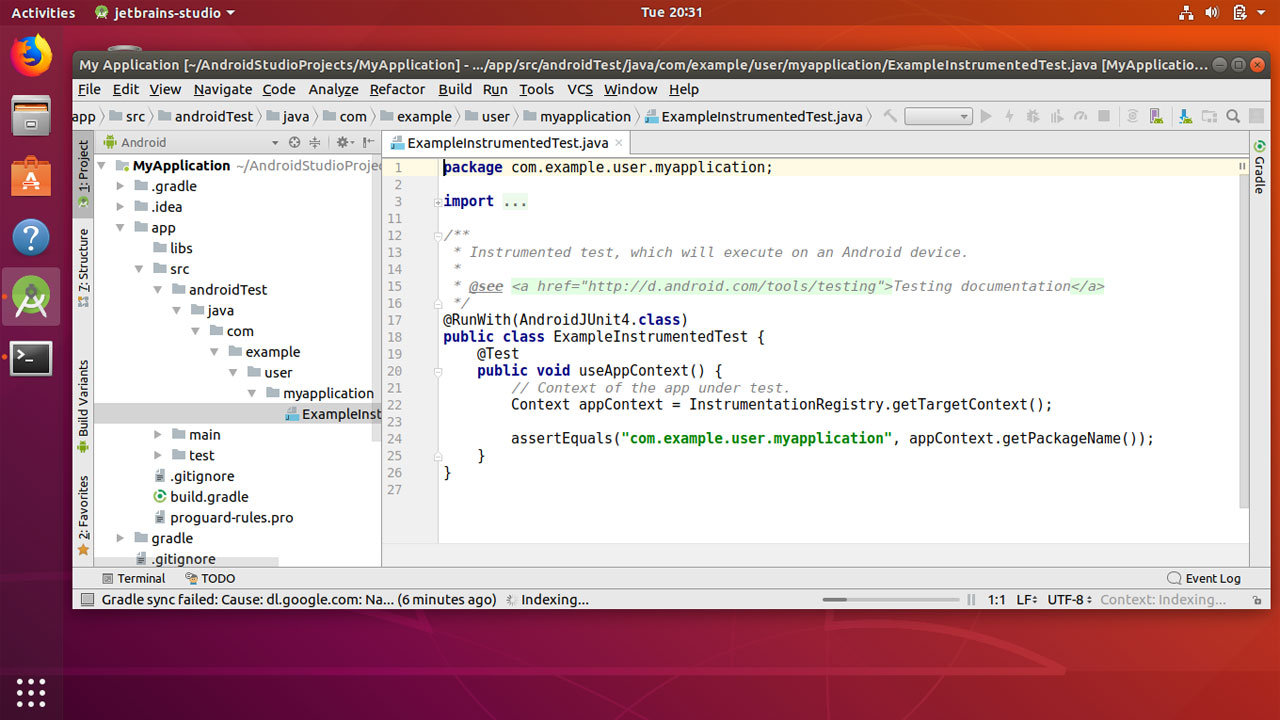
./studio.shThis will launch the Android Studio Setup Wizard which will guide you through the rest of the setup.
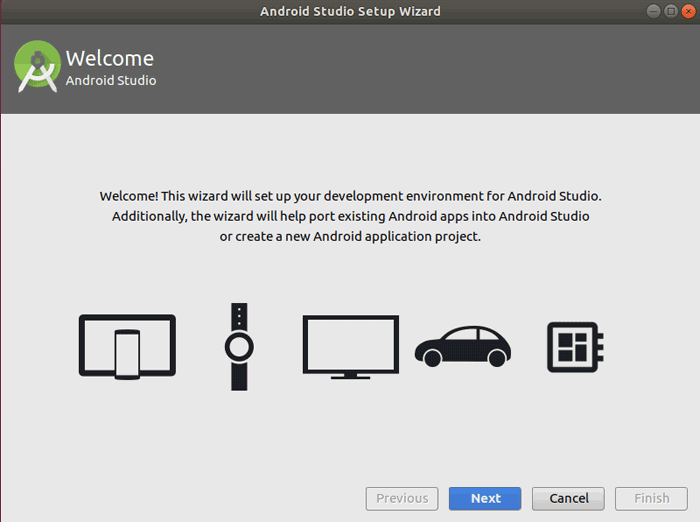
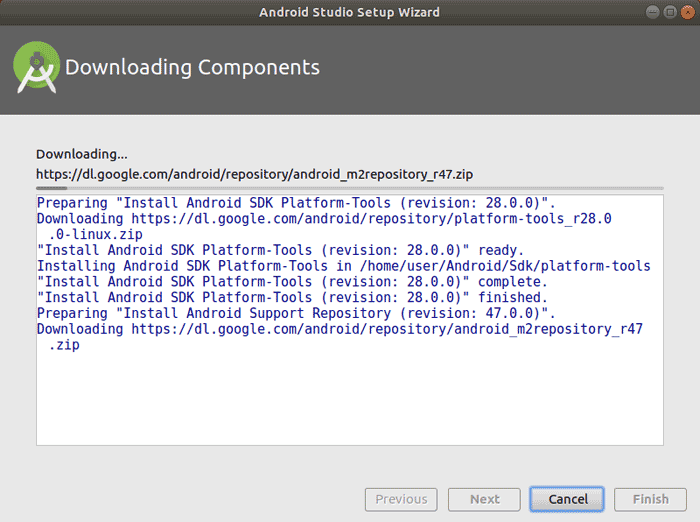
You can continue with the default options, The wizard will download the Android SDK platform tools and the rest of the components that need to develop android apps on your Ubuntu 18.04 Desktop.
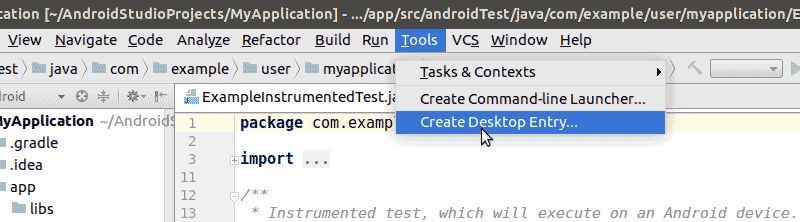
To create a desktop entry for application menu, From the Android Studio, Go to Tools menu and click “Create Desktop Entry”.
And this is it!