How to Install FileZilla in Ubuntu 18.04 Bionic Beaver
This tutorial explains how to install FileZilla FTP client in Ubuntu 18.04 Bionic Beaver.
There is no better FTP client for Ubuntu 18.04 than FileZilla FTP. With FileZilla you can download files from FTP server and you can upload files and folders from your computer to the FTP Server.
FileZilla is not installed by default, To install FileZilla on Ubuntu 18.04, Open the terminal and execute:
sudo apt-get update
sudo apt-get install filezilla
Connecting to the FTP server with FileZilla
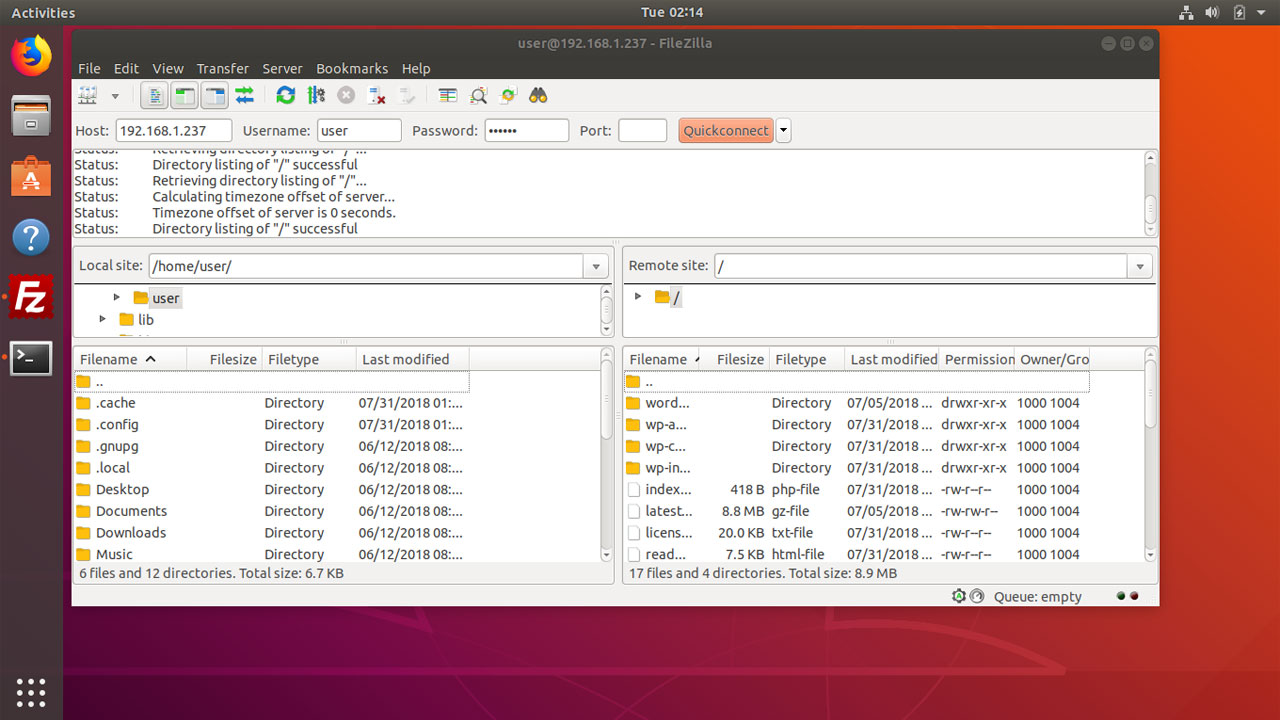
To connect to a FTP Server, Open the FileZilla FTP client and type the domain name or IP address of the FTP server in the Host field. Provide the FTP username and password and FTP port( you can leave the port empty if your server use default FTP port 21) and click on Quick connect button.

FileZilla on Ubuntu supports both FTP and SFTP, and gives users simple and easy to use interface to deal with FTP file transfer protocol.