How to Install IntelliJ IDEA on Ubuntu 18.04
IntelliJ is an integrated Java development environment developed by JetBrains, which you can use to develop mobile, desktop and web applications using Java programming language. If you are looking for a JAVA IDE for Ubuntu, then you can choose IntelliJ IDEA as it works perfectly for Java development.
The steps to install IntelliJ on Ubuntu 18.04 are as follows:
- Download IntelliJ for Ubuntu 18.04 – Go to IntelliJ IDEA download page and download the Linux edition.

- Extract the IntelliJ IDEA package – After the download is finished, open the Ubuntu terminal and extract the tar file to the /opt directory.
sudo tar -zxvf ideaIC-2018.2.tar.gz -C /opt/ - Execute the idea.sh file – Then move into the bin subdirectory of the extracted folder, execute the idea.sh script.
cd /opt/idea-IC-182.3684.101/bin/
./idea.sh
You will get the setup wizard which will guide you through the rest of the installation process.
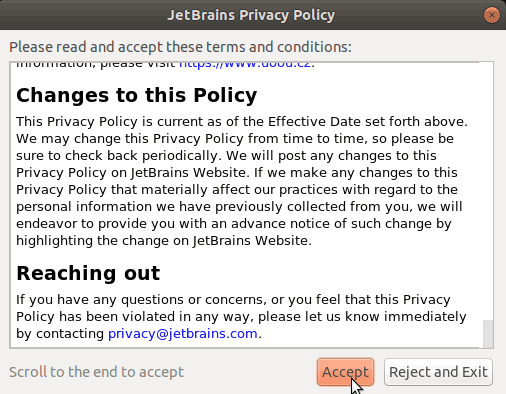
First accept the license agreement and select the UI theme you want to use.
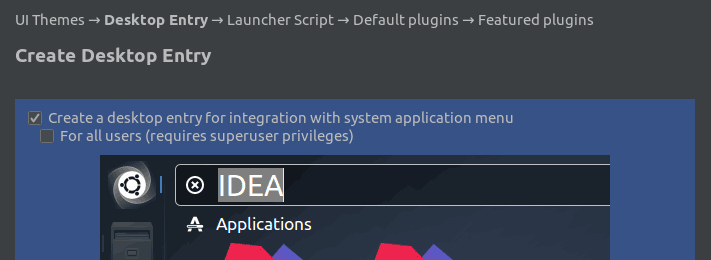
Check the checkbox: “create a desktop entry for integration with system application menu”.
Check the checkbox to create the launcher script, which will allow you to open files and projects from the Ubuntu command line (the idea command).
Select the plugins which you want to install with Ubuntu IntelliJ IDEA (You can always customize these settings letter).
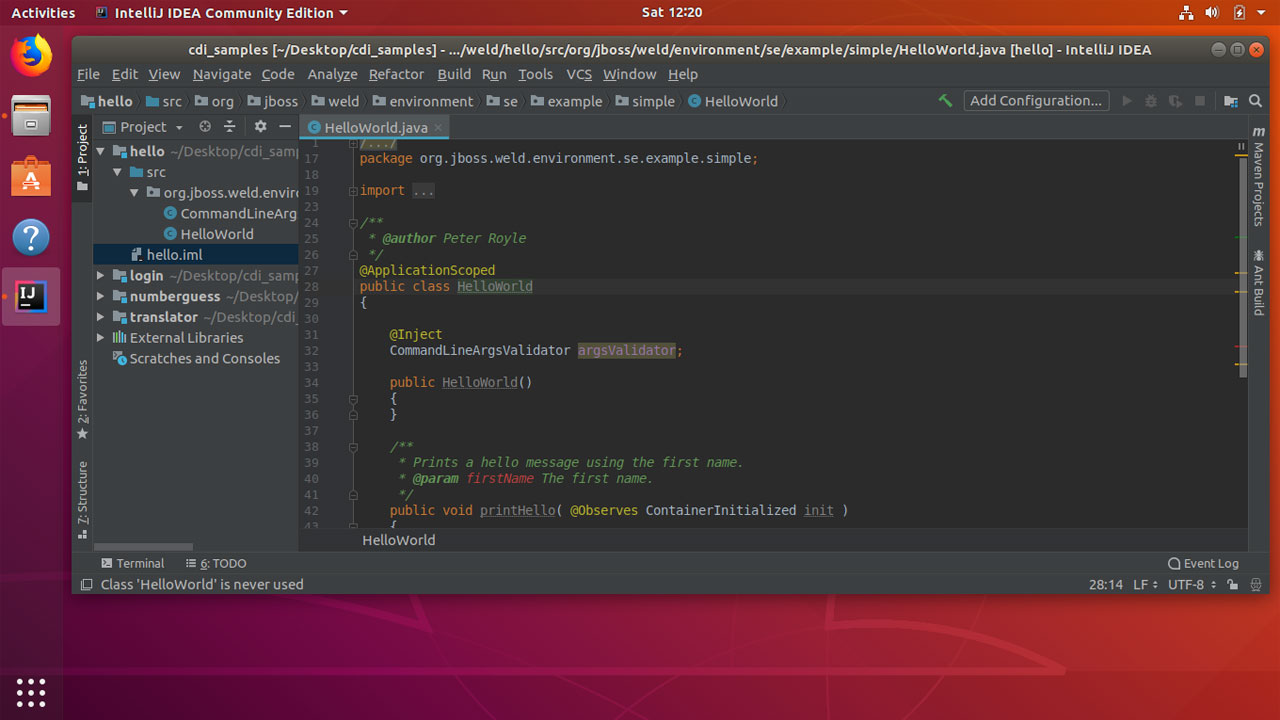
Once the process is complete, you can open the IntelliJ IDEA from the Ubuntu Application Menu.
Installing the Java Development Kit
We Didn’t need Java to install IntelliJ on Ubuntu 18.04, but to to develop Java applications, you need to have Java development Kit. Java 11 is the latest version and click on this link to learn how to install and setup JDK 11 on Ubuntu 18.04, If you haven’t done it already.
Create a New Java Project on Ubuntu 18.04
- Open IntelliJ IDEA.
- Click on: “Create New Project” (or select New Project from the File menu).
- In the New Project window, choose the Java as programming language and select the JDK version you want to use with the new project.
- Specify the project name, select Project location and click Finish.
In the project structure, you will see two subdirectories, .idea and src. The .ide folder contains the configuration data of your Java project and src folder is for your Java codes.
So you can see how easily we can install Intellij on Ubuntu 18.04 Bionic Beaver.