Install Ruby on Rails for Ubuntu 18.04 LTS
Ruby is a programming language and rails is a web framework written in Ruby. Installing Ruby on Rails in Ubuntu has not been very straightforward compared to other programming languages like Java, PHP or Python.
But it can be done and not difficult either, in this tutorial, you will learn How to Install the Latest Version of Ruby on Rails on Ubuntu 18.04 LTS. So let’s begin.
First open your terminal window and then Install curl and gpgv2 packages:
sudo apt-get update
sudo apt-get install curl gpgv2
Next, setup YARN Repository and Install YARN Package Manager:
curl -sS https://dl.yarnpkg.com/debian/pubkey.gpg | sudo apt-key add -
echo "deb https://dl.yarnpkg.com/debian/ stable main" | sudo tee /etc/apt/sources.list.d/yarn.list
sudo apt update && sudo apt install yarn
After that, run the following command to install Ruby programming language and Rails Framework:
bash < <(curl -sL https://raw.github.com/railsgirls/installation-scripts/master/rails-install-ubuntu.sh)The installation script will automatically install everything required to run Ruby on Rails applications (Ruby, Rails, Sqlite3, Node JS, etc.) on your Ubuntu 18.04 System.
After installation is complete, you will need to load RVM (Ruby Version Manager) in your shell session using the following command:
source ~/.rvm/scripts/rvmTroubleshooting – gpg: Can’t check signature: No public key
If you get the following error: “gpg: Can’t check signature: No public key”, fetch the public key manually as instructed.
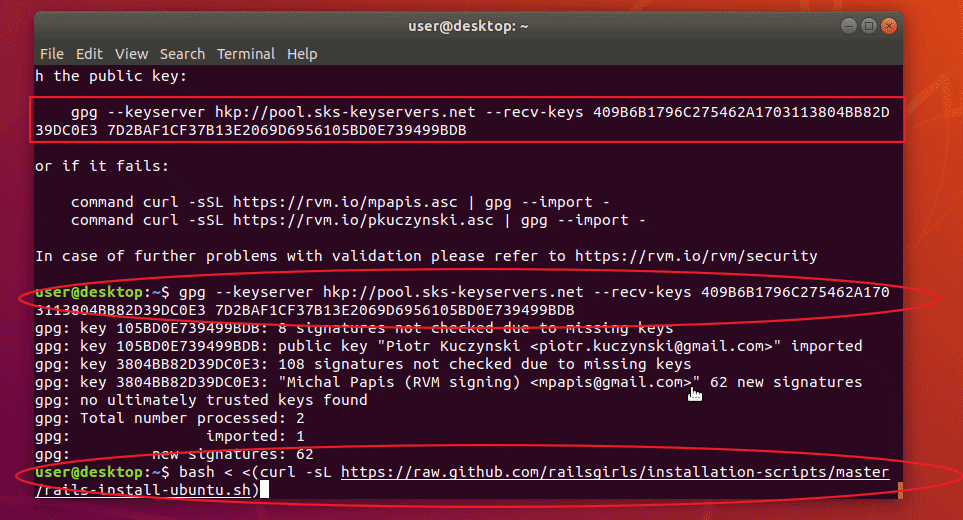
After that, repeat step three and four (run the rails installation script again and source the RVM script).
When it’s all done, enter ruby -v command to check ruby version:
ruby -vYou can verify the Rails version by using the following command:
rails -vNow that we have Rails installed, let’s go ahead and build a test application using rails new command.
rails new new_appOnce this is complete, move into the new_app directory and start the Rails server:
cd new_app
rails server
Rails server will start hosting a local web server on port 3000. You can access it by browsing to http://localhost:3000/.
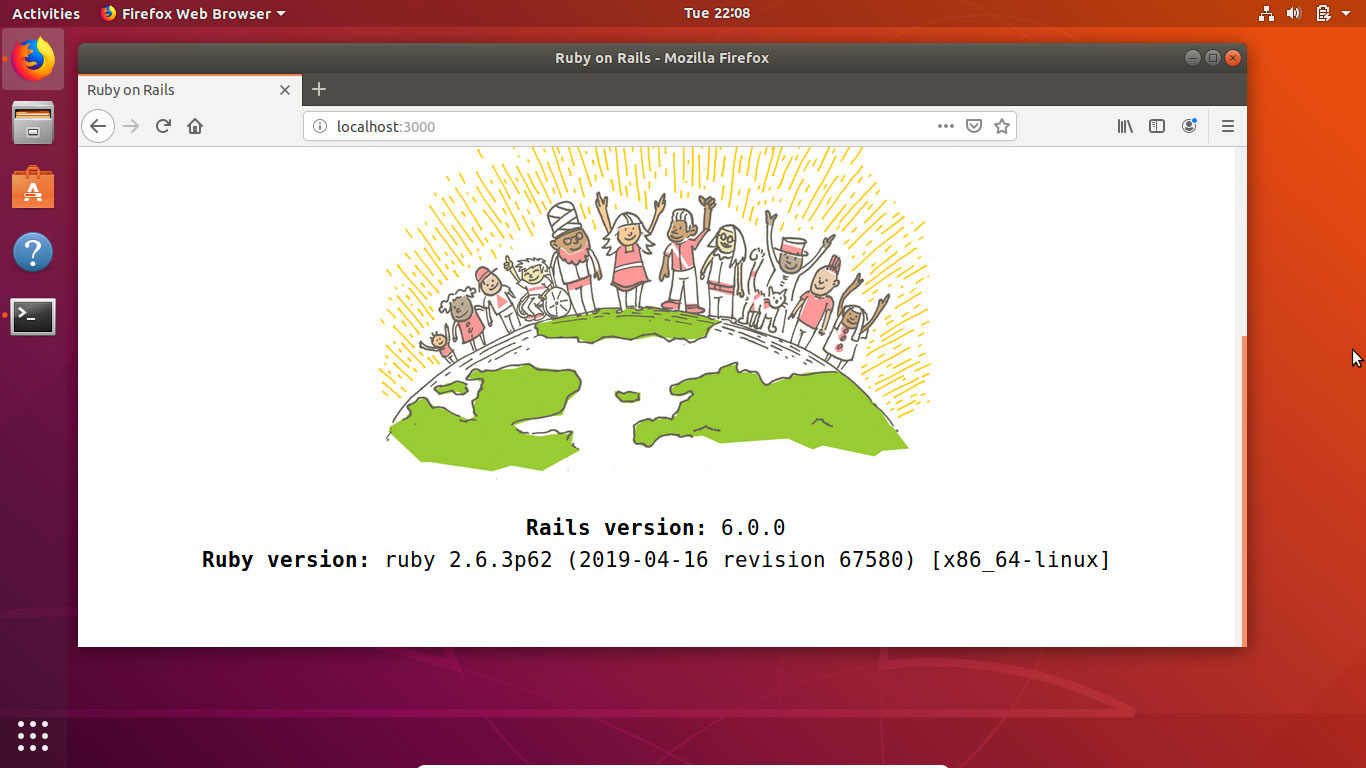
If everything is good, then you should see the following welcome page that shows Ruby and Rails versions.