Install Ubuntu 20.04 on Windows 10
Windows 10 has a new cool feature called Windows Subsystem for Linux, also known as WSL, which we can use to install Ubuntu on Windows 10.
First of all, we need to enable the Windows subsystem for Linux Feature. To do that, open the PowerShell as Administrator. Right-click on the start button and choose Windows PowerShell (Admin).
Then run the following command:
Enable-WindowsOptionalFeature -Online -FeatureName Microsoft-Windows-Subsystem-LinuxAfter enabling WSL, you will be prompted to reboot your PC.

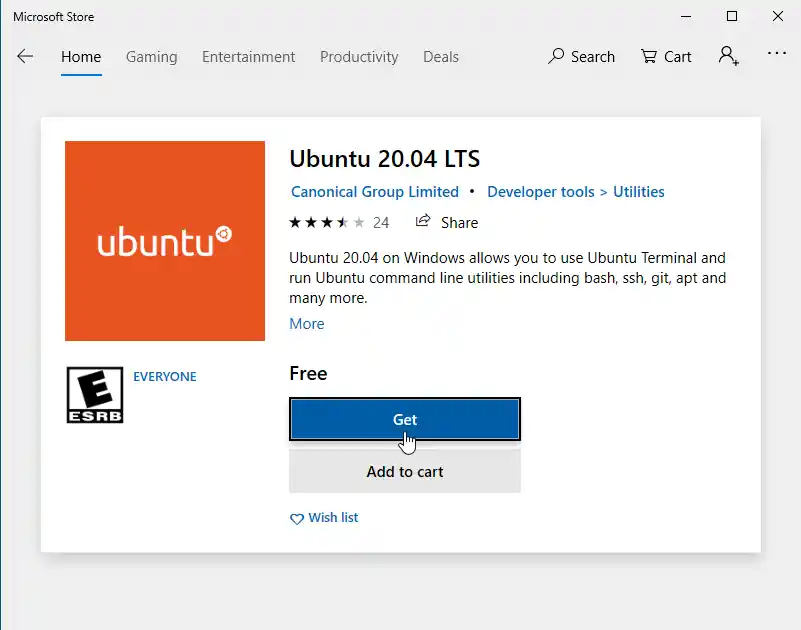
After that, we should install the Ubuntu Windows app. Go to the start menu and open the Microsoft Store and search for Ubuntu 20.

Select and install the Ubuntu 20.04 LTS app.
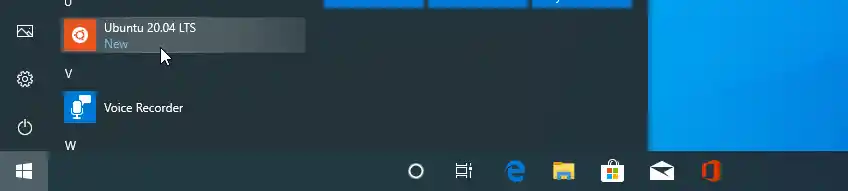
Once the install is complete, start the Ubuntu app from the Start menu.
Since this is the first time, it will ask you to create a new Linux username and a password.
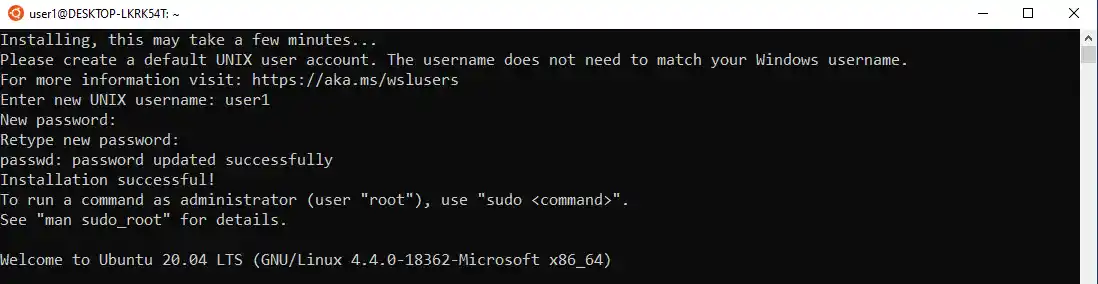
After installing Ubuntu on Windows, now we have access to the Ubuntu bash command line where we can run bash commands, we would use on an actual Ubuntu system.
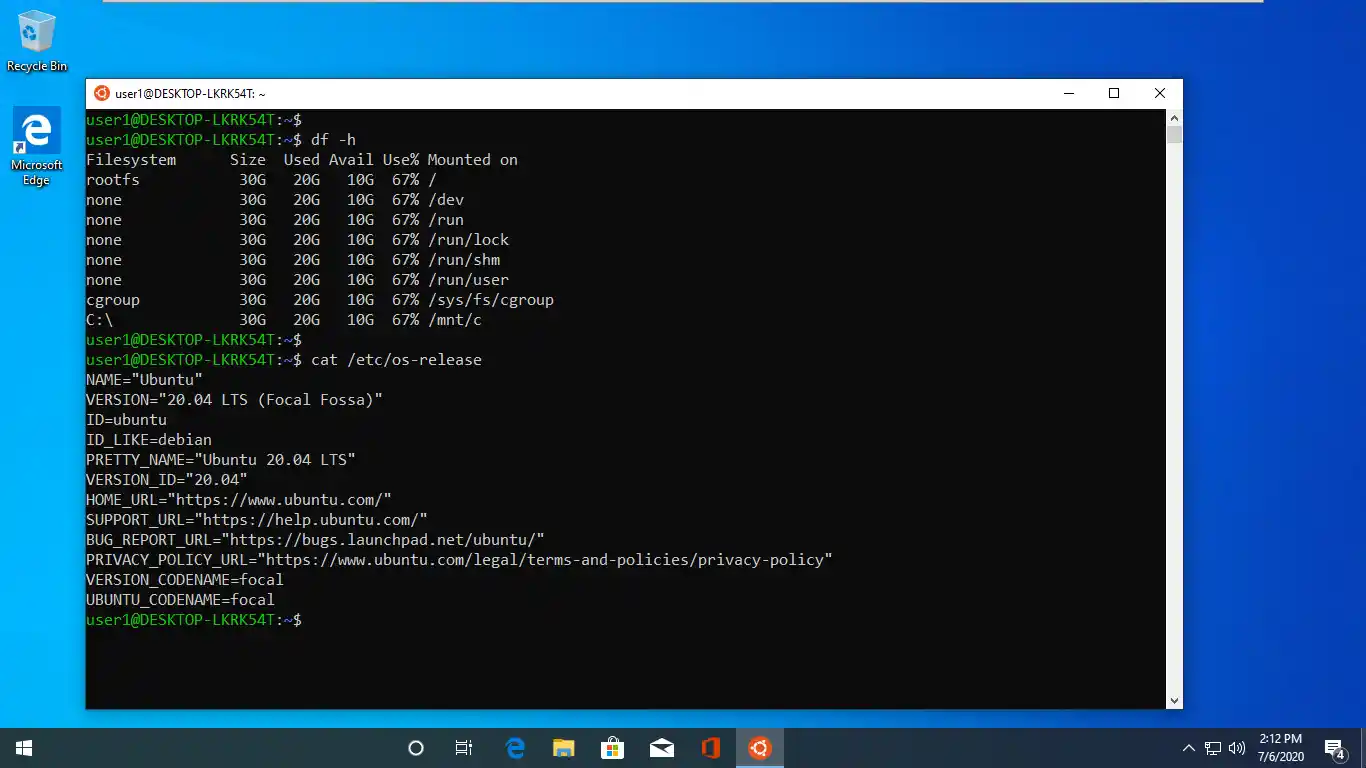
You will also have access to your Windows C Drive within the Ubuntu subsystem. Run the df -h command and you will see the mount point, which is /mnt/c.
WSL is not a hypervisor like VirtualBox or VMware Workstation, it is what is called an application compatibility layer. WSL sits on top of Windows 10 and allows Linux software (For example, bash, Ubuntu, Kali Linux) to run on Microsoft Windows 10 Operating system.