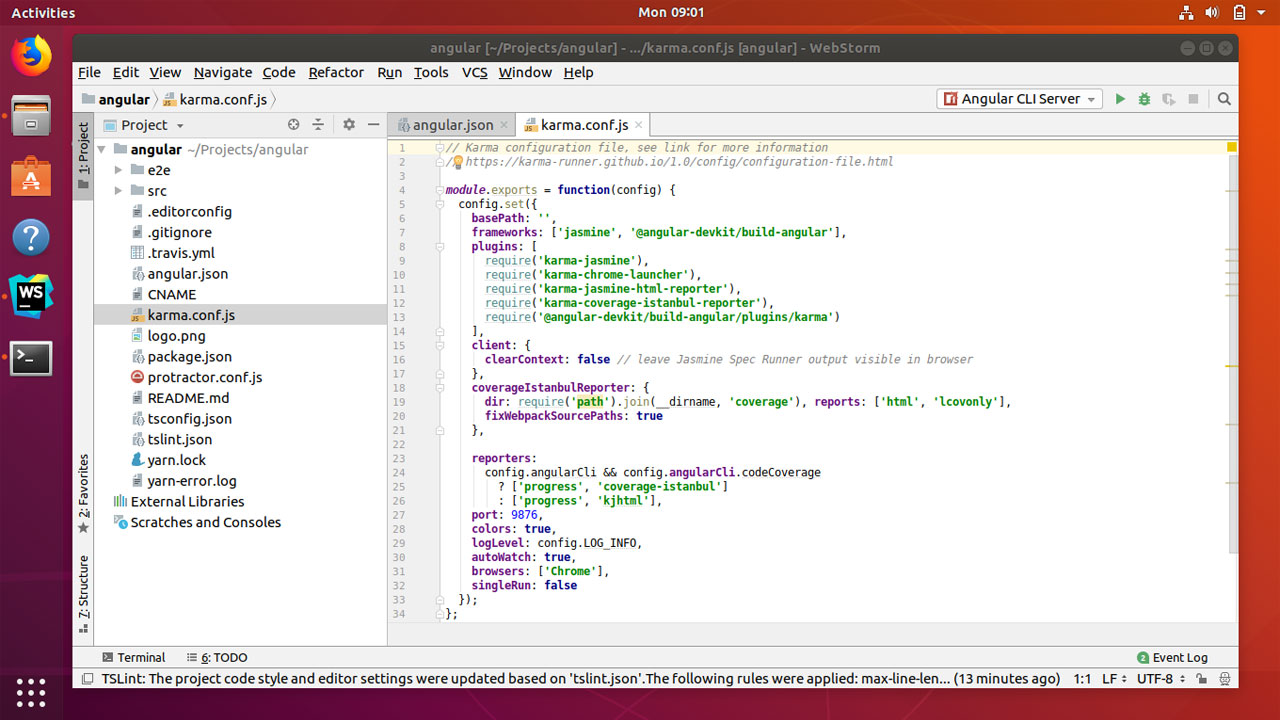
How to install WebStorm JavaScript IDE on Ubuntu 18.04
WebStorm is a cross-platform JavaScript integrated development environment (IDE) by JetBrains that support for most of the modern JavaScript frameworks such as AngularJS, TypeScript, React, Meteor, Dart and Node.js and many more.
Webstorm for Ubuntu available from the snap package manager and It is also the easiest method to install the WebStorm JavaScript IDE.
To install WebStorm on Ubuntu, open the Ubuntu terminal and execute:
sudo snap install webstorm --classicAfter the installation is done, you can launch WebStorm from the Ubuntu application menu.

If you want to uninstall WebStorm IDE, Run:
sudo snap remove webstormDownloading and installing Webstorm
There is an alternative method to install WebStorm on Ubuntu 18.04, which is to download the installer from the JetBrains website and install it.
- Download WebStorm for Ubuntu 18.04 – Open a web browser and go to WebStorm download page, select Linux from the operating system list and hit the download button.

- Extract tar File – After the download is complete, unpack the tar file to the /opt.
sudo tar -zxvf WebStorm-2018.2.4.tar.gz -C /opt - Run webstorm.sh – cd into the bin directory of webstorm folder and execute the webstorm.sh file.
cd /opt/WebStorm-182.4505.50/bin/
./webstorm.sh
After you execute webstorm.sh, the wizard will guide you through the rest of the installation process.
The main downside to WebStorm is that it is a commercial product and you need to buy a license key after 30 day evaluation period . If you don’t use WebStorm, then there are a number of good alternative JavaScript IDEs for Ubuntu 18.04, brackets and VS Code, for example.