How to Install Apache on Ubuntu 18.04 Server
In this guide, we will install the Apache web server on Ubuntu 18.04 bionic beaver. We will also look at how to configure virtual hosts, a feature which allows us to server multiple websites from a single server.
To install Apache web server, we simply install the apache2 package:
sudo apt-get update
sudo apt-get install apache2
When you are asked if you want install apache and all of its dependencies, answer yes by typing y and press enter.
After the installation is complete, run the status command to check server status:
sudo systemctl status apache2If everything is alright, you should see the apache2 status as active (running).
The Apache server on Ubuntu 18 should start automatically after the installation. for some reason, if apache2 service is not running, you can enable it and start with following two commands:
sudo systemctl enable apache2
sudo systemctl start apache2
The /etc/apache2/apache2.conf is the main configuration file of the Ubuntu apache2 server. The default document root is the /var/www/html directory (you can now serve your static web site from this directory).
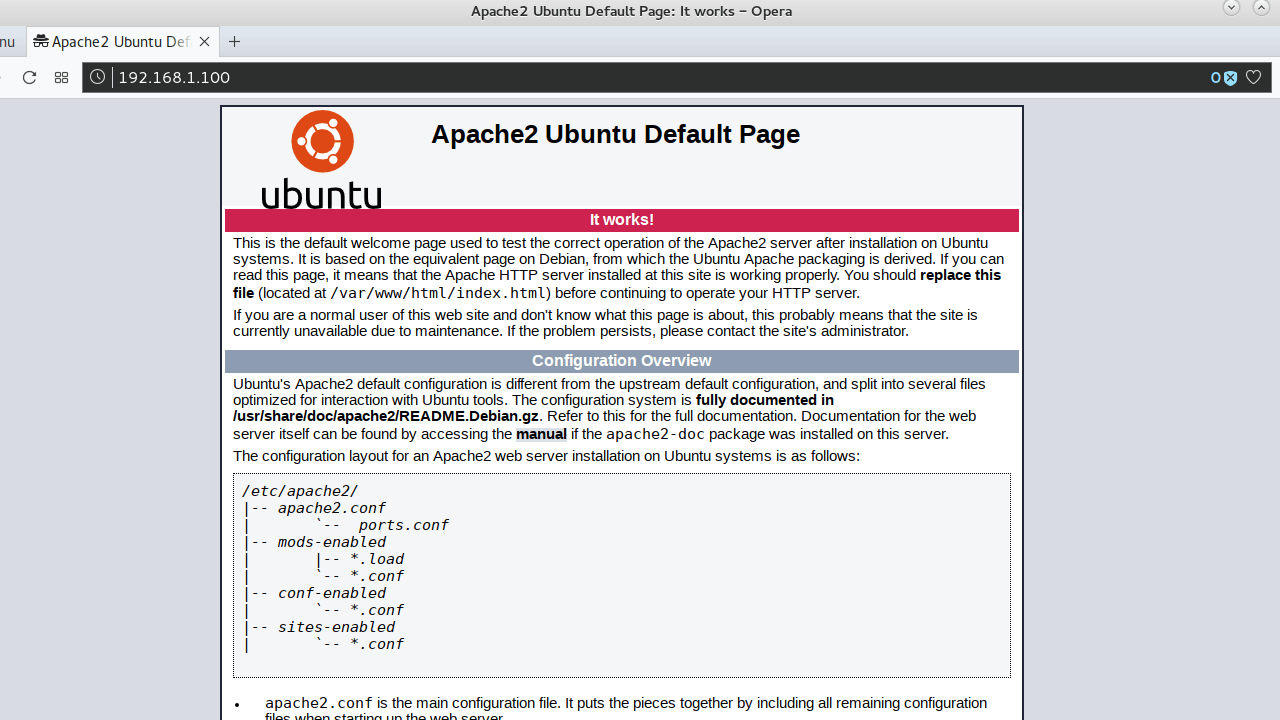
You can also open a browser on a remote computer and point it to the Ubuntu server IP address. You should see the Apache2 Ubuntu Default Page.
Note that you need to add firewall rule to open http port 80 if have enabled the UFW firewall.
sudo ufw allow 80/tcpCreate Apache VirtualHost on Ubuntu Web Server
One of the most important feature provided by Apache is to host multiple web sites on the same server. A virtual host is a complete standalone website with its own domain name and DocumentRoot.
In this section, I will demonstrate how to create a virtual host for the domain name example.com and hosted it under the /var/www/example.com directory.
First, create the DocumentRoot of the web site:
sudo mkdir /var/www/example.comNext, create the virtual host configuration file under the /etc/apache2/sites-available directory with “.conf” extension (example.com.conf, for example).
sudo vim /etc/apache2/sites-available/example.com.confAdd following configuration to the example.com.conf:
<VirtualHost *:80>
    ServerName www.example.com
    ServerAlias example.com
    DocumentRoot /var/www/example.com
    ErrorLog ${APACHE_LOG_DIR}/error.log
    CustomLog ${APACHE_LOG_DIR}/access.log combined
</VirtualHost>
Save the file and enable the new Virtual Host with a2ensite command:
sudo a2ensite example.com.confFinally, reload Apache server:
sudo systemctl reload apache2That is all we have to do, now our Apache web server on Ubuntu 18.04 ready to server example.com domain.
Summary
In this tutorial, we walked through how to install Apache on Ubuntu server 18.04. The Apache web server for Ubuntu 18 is provided by the apache2 package which is available from the package repository.
Then, we walked through the process of how to setup a Apache Virtual Host on Ubuntu for the domain name example.com.